
From time to time I get calls and emails asking about various steps involved in finishing a quilt. They typically have to do with backing fabric, batting, or binding. Ask 10 longarm quilters the same question and you might get 10 slightly different answers. Here are my thoughts and some methods on these three items:
BACKING FABRIC: Depending on the size of your quilt, will the backing fabric need to be pieced (sewn) together? If you hang your quilt from what you consider to be the top, will you run the backing fabric seam vertical or horizontal? If your quilt is square and there is no actual top (meaning any side could be the top) then vertical or horizontal won’t really matter. The only reason this even comes up is if you run the seam vertical on a rectangular quilt, that means the longarm quilting machine that applies the quilt pattern will have to cross over the seam on every pass. If you run the seam horizontal it will only run over it on one pass. Running the quilt pattern over the seam on each pass can make the seam appear more prominent. Press the seam open on the back and as flat as possible. That will help to conceal it. One other thing to consider is whether or not your backing fabric design will match up best by going horizontal or vertical. If the design matches up best by going vertical that is what I would recommend. Picking a backing fabric design that is fairly random will help eliminate the design matching problem. When finished, your backing fabric needs to be at least 4 inches wider on all sides than your quilt top. This is so the longarm quilter can load it on the machine correctly.

Pressing an open seam on the back side of the backing fabric
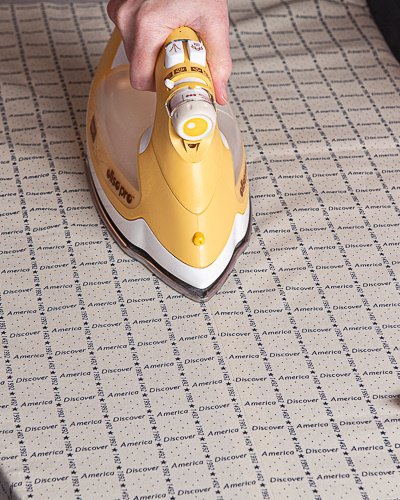
Pressing along the seam on the front side of the backing fabric. This seam will be vertical to the quilt in order to make the words align properly. When done the seam will hardly be noticeable.
BATTING: Most longarm quilters have batting that they prefer. That is because they are comfortable using it on their particular machine. That does not mean you cannot provide your own batting. You might want to consider the quilter’s price for batting versus buying it yourself. I can typically provide high quality batting cheaper than a customer can purchase it retail because I buy it in large rolls. Color choice is a concern. Light colored fabrics can show the batting underneath so a white fabric probably needs a white batting. Like the backing fabric, the batting needs to be at least 4 inches wider on all sides than your quilt top so it can be loaded on the quilting machine correctly.
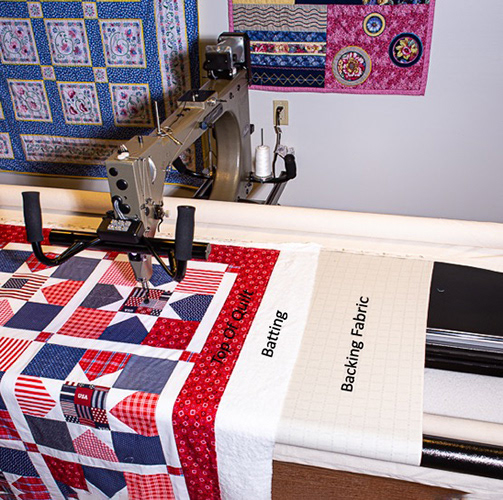
This is how quilt layers are attached to a longarm quilting machine. In this case the backing fabric is quite a bit larger than the batting and the quilt top (not a problem, but only need 4 inches). The backing fabric goes on machine first, then the batting, and finally the quilt top. It is important that the backing fabric and quilt top both be square and loaded on the machine square. If there are loose threads between the backing fabric and the batting, OR, between the quilt top and the batting they can show through. That is why threads need to be trimmed. This machine will make a pattern pass edge to edge from left to right and lay down a pattern up to 23 inches tall. Then the quilt is rolled and another pass is made. This is repeated until the quilt is finished. The height of each pass is determined by how long the quilt is so that each pass fits within the boundaries of the quilt evenly. In other words, if your quilt is 100 inches long it might require 5 passes that are 20 inches tall. However, depending on the pattern chosen, and how tight (or dense) you want the pattern to be, you might increase the number of passes to be 8 that are 12.5 inches tall. Some computerized patterns can be made larger or smaller but there is a limit to how much we can shrink or enlarge them.
BINDING: Binding material can be just about anything. Some prefer it to match the quilt top or back. Some just want an accent color. The choice is yours. How to cut it and apply it is the question. I prefer to cut binding fabric into strips that are 2.5 inches wide. I sew the strips together until I have one long strip that will wrap all the way around the quilt with several inches to spare. I then fold the long strip over in half and press it so there is a straight fold. I now have a folded strip that is 1.25 inches wide. If I am applying your binding you have two choices. I can totally machine bind both sides all the way around the quilt, OR, I can machine bind the front side for you and you can hand finish the back side. Some people prefer to hand finish the back side so the stitches do not show in the back. If I machine bind both sides, I fold the binding material over the stitches on the quilt top so they do not show. If I then machine bind the back, the stitches will show on the back side. I do not do hand stitching which can hide the stitches on the back, but I will leave that to you if you choose to do it.
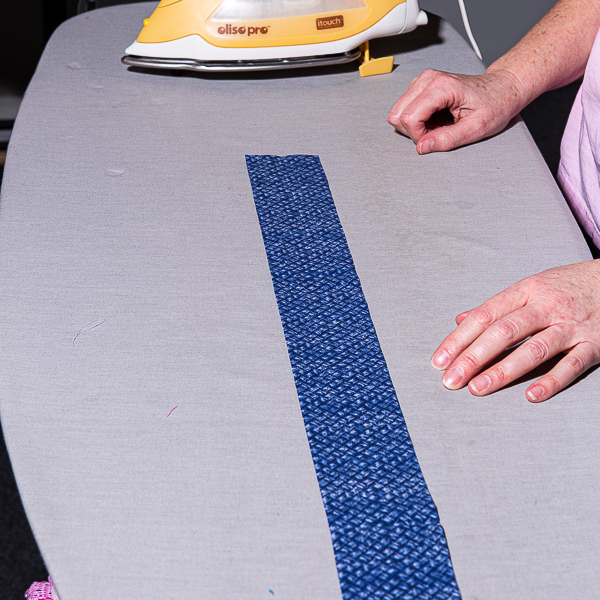
After cutting binding strips 2.5 inches wide and sewing them together end to end for the length needed to go all the way around the quilt, I then start pressing the seams and folding the strips in half.
Pressing the seams open where I sewed strips together. I simply sew the seams straight across, but there are other methods of doing this.
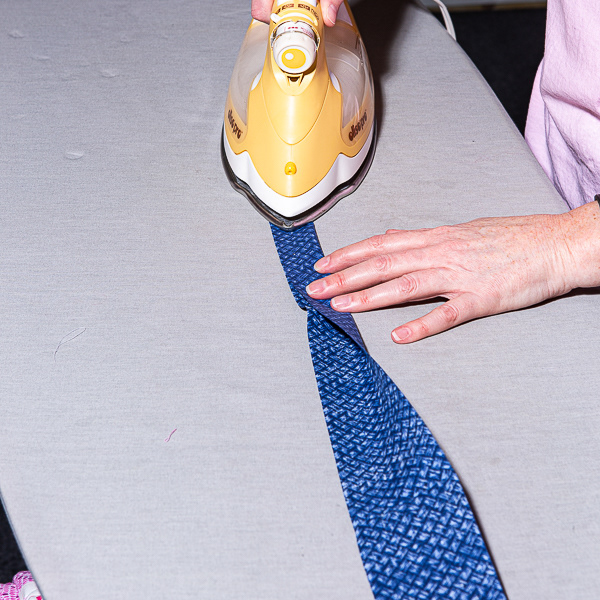
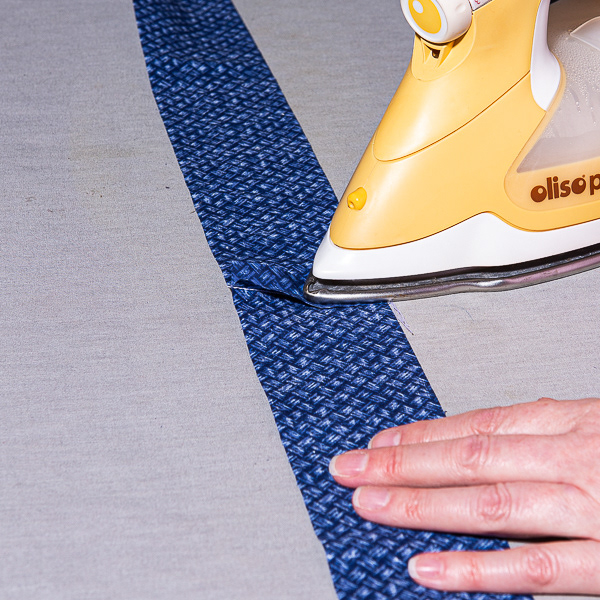
Finally, I fold the 2.5 inch wide strip in half and press it before starting to attach it to the quilt.
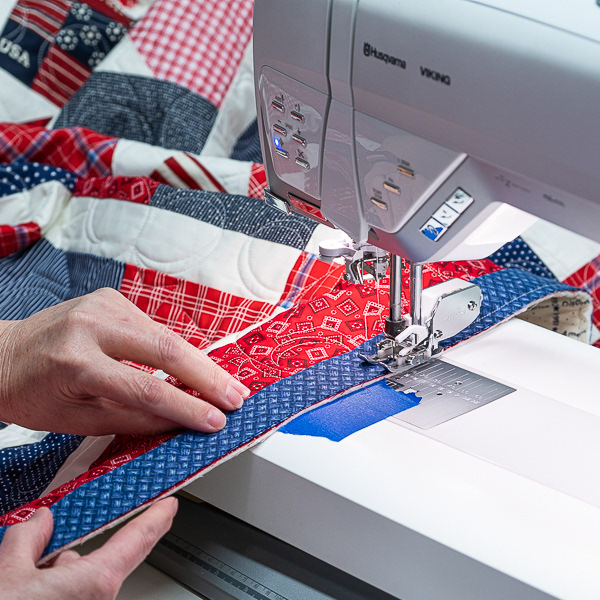
Here I am sewing the 1.25 inch folded binding along the edge of the quilt. I sew a scant 1/4 inch in. The fold is on the left in this picture. I am sewing the open side down.

When I get to a corner I turn the quilt and make one 90 degree fold going up (see next pic).

Then I make another 90 degree fold going down. I have now turned a corner without having to cut the binding strip.
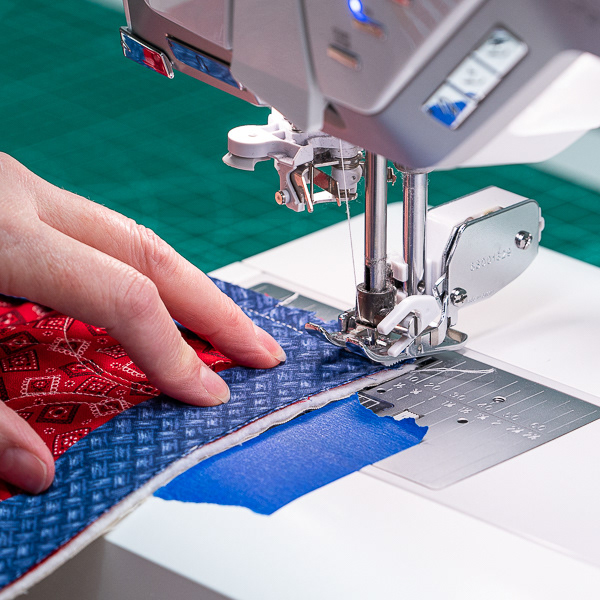
Then I continue to stitch the binding strip down the next side a scant 1/4 inch in. These stitches will be hidden when I fold the binding strip over them to wrap it around to the back side (by the way, I use the blue painters tape to extend my alignment further to help me keep the 1/4 inch stitch line straight).
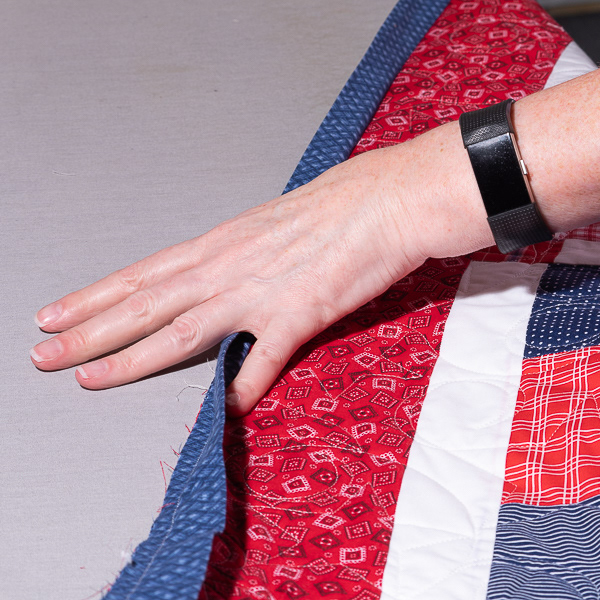
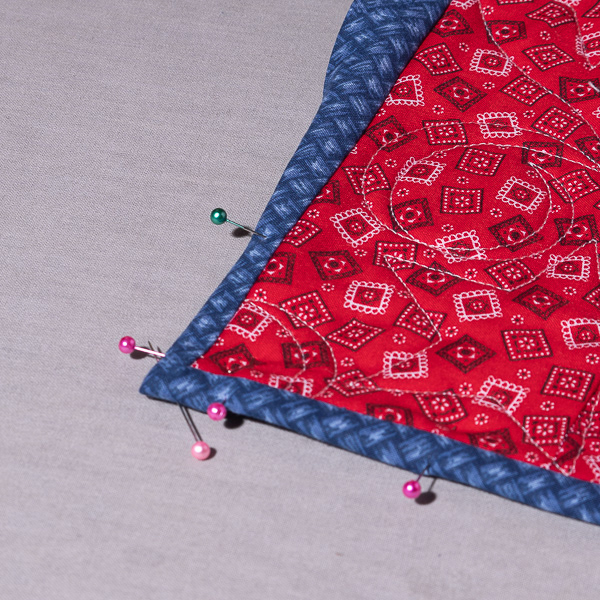
This is the top of the quilt after the binding is sewn on and I am folding the binding over the stitches and getting ready to pin it to the back of the quilt.

This is the back of the quilt and how I pin the binding all the way around before sewing it down. I make a mitered corner. There are You Tube videos on how to do that.
Front of the quilt after pinning the binding. Notice the seam where I sewed the binding to the front is now covered up. Also notice the clean mitered corner with no seam showing.
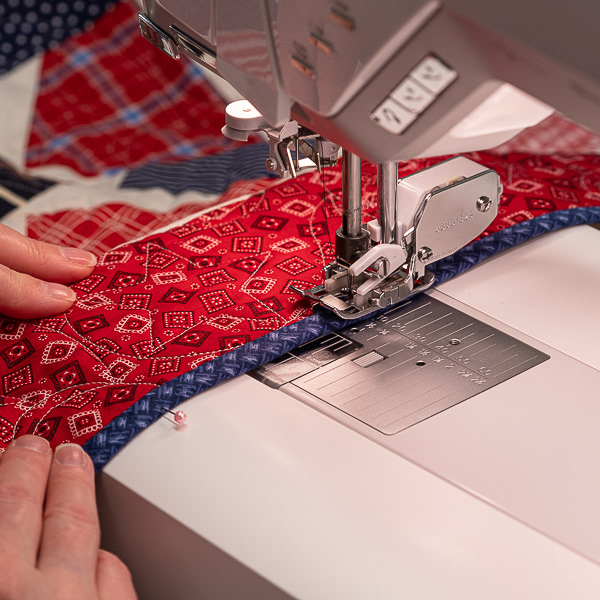
The final step for both front and back machine binding is to stitch in the ditch from the front. I am using a blue thread here which will not show on the front (as long as I get it in the ditch). It will show on the back, but because it is the same color as the binding it is not very noticeable and is a lot faster than hand stitching (not that hand stitching is not great, I just don't have the time to do it).
In addition to the above items I would like to stress that making sure your quilt top and backing fabric are squared correctly is probably the most important thing you can do to help your longarm quilter. Also, cutting the stray threads from both sides of the quilt top and backing fabric and pressing them as flat as possible can save you money. Most quilters charge extra for squaring, pressing, and thread removal and it will slow down the process. Threads can show through the fabric if they are not trimmed.
Hopefully this information will help someone to make decisions on how to proceed with making their quilt. Building a quilt can be a real challenge and a real accomplishment. My only goal is to help you get yours done the best it can be.
Happy Quilting!
Sherrie